
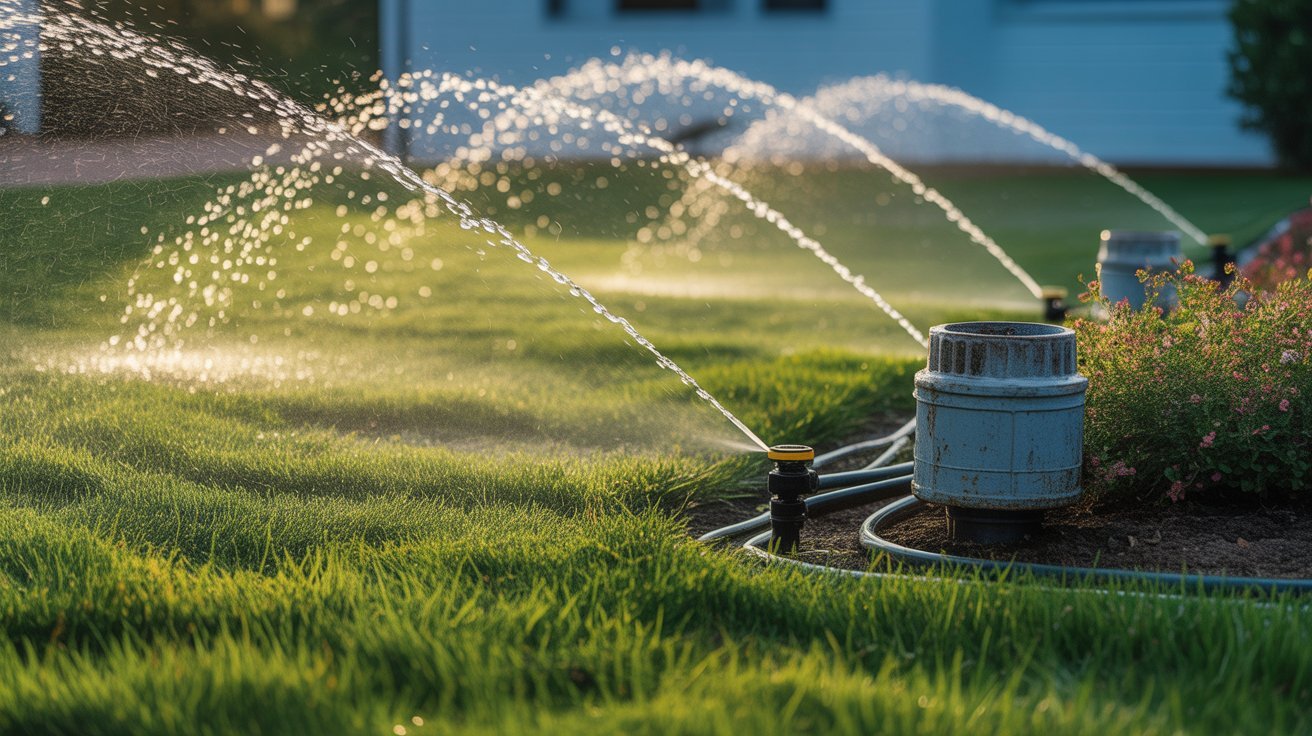
If you’ve just moved into a house with an in-ground irrigation system or recently installed one yourself, learning How to turn on a hydro sprinkler system correctly is essential. Whether you’re starting your system after winter or using it for the first time, opening the valves too quickly or skipping important checks can lead to leaks, damaged sprinkler heads, or burst pipes. This step-by-step guide explains how to turn on the hydro sprinkler system safely, helping you protect your irrigation system and keep your lawn healthy.
The good news is that turning on a sprinkler system isn’t complicated once you understand why each step matters. It’s mostly about patience — going slow, checking things in the right order, and not skipping the boring parts. Below is the process I’d walk a neighbor through if they asked me over the fence.
How to Turn On Hydro Sprinkler System Step by Step
Turning on your irrigation system the right way helps prevent leaks, broken pipes, and water hammer. Follow these simple steps to safely pressurize your sprinkler system after installation or seasonal shutdown.
Step 1: Inspect the Entire Sprinkler System
Before opening the water supply, walk around your property and inspect all visible sprinkler heads, valve boxes, exposed PVC pipes, and the backflow preventer. Look for cracked fittings, damaged sprinkler heads, loose connections, or signs of leaks. Fix any obvious issues before continuing.
Step 2: Make Sure the Controller Is Turned Off
Switch your irrigation controller to Off or Rain Mode before restoring water pressure. This prevents the system from unexpectedly activating while you’re filling the pipes.
Step 3: Close the Backflow Test Cocks
Locate the backflow preventer and confirm that the small test cocks are closed. Also check that the isolation ball valves are in the closed position before opening the main water supply.
Step 4: Slowly open the main water valve.
This is the most important step. Turn the main shut-off valve very slowly, allowing water to fill the pipes gradually. Opening the valve too quickly can create water hammer, which may crack PVC pipes, damage fittings, or cause leaks.
Allow 30–60 seconds for the system to become fully pressurized before opening the valve completely.
Step 5: Open the Backflow Isolation Valves
Once the main line is fully pressurized, slowly open both ball valves on the backflow preventer until they are parallel with the pipe. Check carefully for any dripping water around fittings or valves.
Step 6: Run One Sprinkler Zone at a Time
Use the irrigation controller to activate the first zone only. Let it run for several minutes while checking:
- Every sprinkler head pops up correctly.
- No heads are clogged or spraying unevenly.
- There are no leaks around pipes or valves.
- Water pressure remains consistent.
Repeat this process for each irrigation zone.
Step 7: Adjust Sprinkler Heads
After testing each zone, adjust any sprinkler heads that spray sidewalks, driveways, or buildings. Proper alignment improves watering efficiency and reduces water waste.
Step 8: Program Your Watering Schedule
Once everything is working properly, set an irrigation schedule based on your local climate and lawn type. Most lawns benefit from deep watering two to three times per week rather than short daily watering sessions.
Step 9: Perform a Final System Check
Walk around your yard one final time while the system is running. Look for puddles, weak spray patterns, leaking valves, or heads that fail to retract after watering. Fixing small problems early can prevent expensive repairs later.
Pro Tip
Never rush when turning on an irrigation system after winter. Opening the main valve slowly and testing each zone individually is the safest way to avoid damaged pipes, leaking fittings, and costly sprinkler repairs.
Turning the Water On, Step by Step
1. Find your main shutoff valve. This is the valve that controls water flowing into the entire irrigation system — not to be confused with your house’s main water shutoff. It’s typically in a basement, crawlspace, garage, or a dedicated valve box outside near where the line comes off your main water supply.
2. Confirm it’s fully closed before you begin. If someone left it partially open from last season, you want to start from a known point.
3. Open it slowly. This is the step people rush, and it’s the one that actually matters. Turn the handle a quarter turn, pause, let the pipes fill a bit, then continue. You’ll likely hear hissing, gurgling, or clanking as trapped air works its way through the lines—that’s normal, and it should settle down as water displaces the air. Give the valve a full one to two minutes to open completely rather than cranking it in five seconds.
4. Open the backflow preventer valves. Once water is flowing to the device, open the first ball valve, then the second, turning each one so it’s parallel with the pipe. Keep an eye out for spray or dripping around the fittings. A small hiss as air clears is fine; a steady leak means something needs tightening or replacing before you continue.
5. Power up the controller. Plug it in if it was unplugged for winter, and check that the display shows the correct date and time—a lot of controllers lose their programming after a power outage or a dead backup battery. Switch it to manual mode for now so you can test zones individually instead of letting the whole system run automatically on your first startup. If you’re running a Rain Bird unit, their official support site has manuals for most models if yours needs a full factory reset.
6. Run each zone by itself for two to three minutes. This is where you catch problems before they become expensive ones. Watch each zone’s heads pop up and spray, and pay attention to pressure, coverage, and any water pooling around a valve or head that shouldn’t be there.
7. Fix what needs fixing. Straighten heads that are leaning, clear dirt or grass clippings out of nozzles, and swap out anything that’s cracked or not popping up properly. Minor head issues are usually a five-minute fix with a screwdriver and a new head from the hardware store.
8. Set your real watering schedule. Once every zone checks out, program your actual run times. Early morning — somewhere around 4 to 7 a.m. — is the sweet spot, since it avoids the water loss you get from midday evaporation and doesn’t leave grass wet overnight, which invites fungus. If you’re not sure how long each zone actually needs, our guide on how long sprinklers should run per zone breaks it down by soil type and sprinkler output, and the Irrigation Association publishes region-specific watering recommendations if you want a second reference point.
What to Do If the System Was Fully Winterized
If your irrigation company blew the lines out with compressed air last fall, there’s a bit more to it than just opening a valve, since the whole system was drained on purpose. This section covers the basics, but if you want the full walkthrough, we’ve got a dedicated guide to dewinterizing a sprinkler system.
Start the same way — checking for damage — but expect more trapped air in the lines than usual, since they were completely dry. Open the main valve gradually, and when you get to testing zones, let each one run a little longer than normal, maybe three to four minutes, so the sputtering and spitting from trapped air has time to work itself out. Don’t be alarmed if the first thirty seconds on a zone look rough; it usually smooths out once the air clears.
This is also the point where you should double-check your controller’s programming, since a system that’s been off all winter often had its battery die at some point, wiping the schedule. Reset the date, the run times, and the days of the week before you leave it on automatic.
Common Problems (and What They’re Usually Telling You)
Weak pressure across the whole system almost always traces back to the main valve not being fully open or a partially closed backflow valve. Go back and check both before assuming there’s a bigger leak. If pressure still seems off once those check out, a worn pressure regulator is often the culprit.
A head that won’t pop up is often just dirt or grass clipped into the nozzle or a spring that’s worn out after a few seasons. Pull it, clean it, and if it still won’t rise, it’s a cheap replacement part.
Wet spots in the yard that weren’t there before are the classic sign of an underground leak, especially if the spot stays soggy even on days you haven’t run the system. This one’s harder to DIY unless you’re comfortable digging and gluing PVC.
One zone that just won’t fire while the rest work fine points to a bad solenoid, a chewed wire, or a valve that’s stuck. You can usually test this by manually activating the zone at the valve itself (there’s a small bleed screw on most solenoid valves)—if water flows there but not from the controller, it’s an electrical issue rather than a plumbing one.
The controller won’t power on at all. Check the outlet it’s plugged into, the breaker, and the backup battery before assuming the unit itself is dead. Power surges over winter storms do kill these things occasionally, but it’s not the first thing to suspect.
A Few Habits Worth Picking Up
Test zones one at a time rather than running the whole system at once, at least for the first startup of the season—it’s much easier to catch a leak or a bad head when you’re only watching one zone instead of six. Keep your test runs short at first (two to three minutes per zone) so you’re not flooding anything while you’re still checking for problems. And walk the yard again about fifteen minutes after your first full run, checking valve boxes and low spots for water that shouldn’t be there—some leaks don’t show up until the system has been under pressure for a bit.
If your controller lets you save a program, do it once you’ve got your schedule dialed in so a dead battery next winter doesn’t erase months of tweaking.
When It’s Worth Calling Someone
Most startups are something you can handle in under an hour with no tools beyond a screwdriver. But there are a handful of situations where calling an irrigation tech saves you money rather than costing you it:
- Water pooling heavily in a valve box or a section of yard that stays wet no matter what — this usually means a buried line cracked, and digging it up yourself without knowing exactly where the break is often does more damage than good.
- A backflow preventer that keeps leaking after you’ve opened it slowly and checked the fittings — these protect your drinking water and aren’t something to guess your way through.
- Multiple zones failing at once, which often points to a wiring or control panel issue rather than something simple.
- Pressure that stays weak no matter how many valves you check, which can mean a mainline blockage or a failing pressure regulator that needs a gauge to diagnose properly.
The Short Version
Turning on a sprinkler system comes down to going slow and checking your work: inspect for damage, open the main valve gradually, open the backflow preventer the same way, then test every zone individually before trusting the system to run on its own. Most of the problems people run into—cracked pipes, leaking backflow devices, and water hammer—come from rushing the valve open rather than any real flaw in the system itself.
Do the walkaround, take your time on the valve, and give each zone a proper look before you set it and forget it for the season. Once it’s up and running, our guide on using a sprinkler irrigation system for maximum water efficiency covers how to get the most out of it day to day.
Frequently Asked Questions
How do I manually turn on my sprinkler system? Open the main shutoff valve slowly, open the backflow preventer valves, switch your controller to manual mode, and run each zone individually to check for problems before switching to an automatic schedule.
Why won’t my sprinkler system turn on? Check that the main valve is fully open, the controller has power, the breaker hasn’t tripped, and the backflow valves are open. If all of that checks out and it’s still not working, you’re likely looking at a wiring or valve issue that needs a closer look.
How long should each zone run? Most lawns do well with 15 to 30 minutes per zone, adjusted for your soil type and the season. Start shorter during your first test run of the year and lengthen it once you know everything’s working properly.
Can I do this myself after winter, or do I need a pro? Most homeowners can handle a standard startup on their own — it’s mainly about going slowly and checking each zone. Call a professional if you find major leaks, electrical problems, or pressure that won’t come back no matter what you try.
What actually happens if I open the valve too fast? You risk water hammer, which is the pressure shock that can crack pipes, blow fittings apart, or damage your backflow preventer. It’s the single most common cause of startup problems, and it’s completely avoidable by just taking your time.
Why are some of my sprinkler heads not popping up? Usually it’s low pressure, a nozzle clogged with dirt, or a worn-out internal spring. Clean the head first — it’s a common and cheap fix — and replace it if that doesn’t solve it.
How do I tell if there’s an underground leak? Look for soggy patches that don’t dry out, an unexplained jump in your water bill, or noticeably lower pressure than usual. If you spot any of these during startup, shut the system off and get it looked at before running it again.