
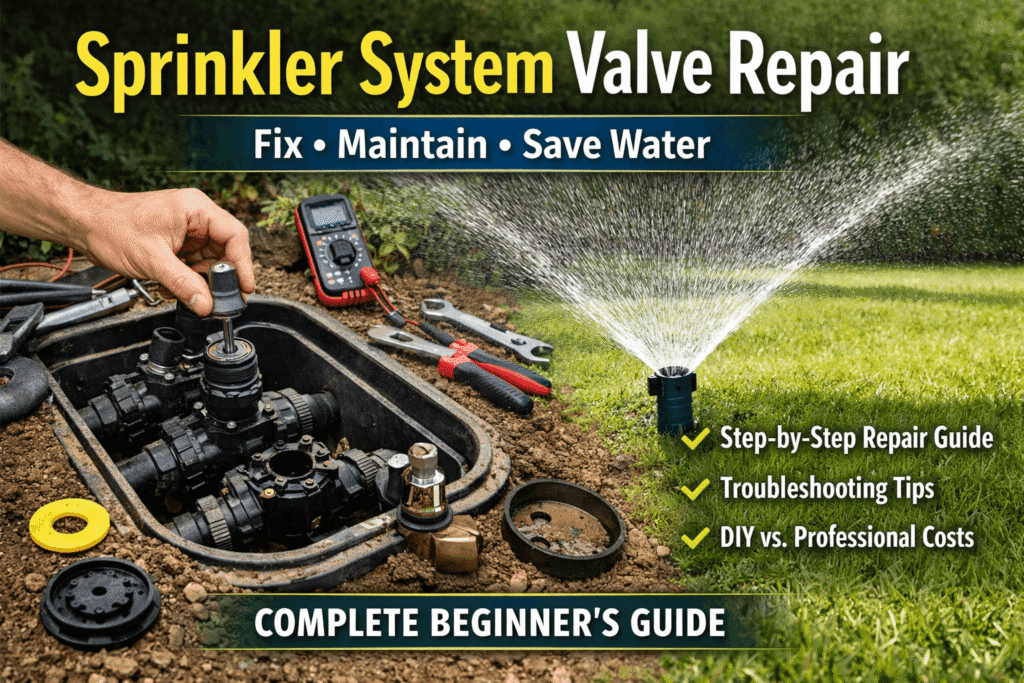
Introduction
A well-functioning irrigation system is essential for keeping your lawn green and healthy. At the centre of this system is the valve, which controls how and when water flows to different areas. When the valve stops working properly, it can lead to serious issues like water waste, dry patches, or even system failure. That’s why understanding sprinkler system valve repair is so important.
Many homeowners think valve problems are complicated, but in reality, most issues can be fixed with simple tools and basic knowledge. Learning how to handle sprinkler system valve repair can save you time, money, and frustration.
If you’re new to irrigation systems, you can also read our complete guide on how to install a sprinkler irrigation system to understand the basics.
For water conservation tips, check out the EPA WaterSense guide.
Table of Contents
What Is a Sprinkler System Valve and Why It Matters
A sprinkler system valve is a device that controls the flow of water in your irrigation system. It opens and closes to allow water to reach specific zones in your lawn or garden. To better understand how your system works, check out our guide on how to use a sprinkler irrigation system
Each zone has its own valve, which ensures that water is distributed evenly. Without properly working valves, your irrigation system cannot function efficiently. More about irrigation systems from a reliable source: Irrigation Association.
Understanding sprinkler system valve repair is important because:
- It prevents water waste.
- It ensures even watering
- It protects your system from damage.
- It helps maintain healthy plants.
In simple terms, the valve is the “control centre” of your irrigation system.
Common Signs Your Sprinkler Valve Needs Repair
Recognising early signs can help you fix problems before they get worse. Here are common indicators that you need sprinkler system valve repair:
- Sprinkler zones not turning on
- Sprinklers not shutting off
- Water leaking around the valve
- Low or uneven water pressure
- Strange noises (buzzing or clicking)
- Continuous water flow
- Zones running at the wrong time
If you notice any of these issues, it’s time to inspect your system. Water usage problems are common. Read our detailed guide on how much water does a sprinkler system use to optimize efficiency
Main Causes of Sprinkler Valve Problems
Understanding the root cause helps you fix issues faster. Common causes include:
- Debris buildup: Dirt or sand blocking the valve
- Worn diaphragm: Causes leaks or pressure problems
- Faulty solenoid: Leads to electrical failure
- Loose wiring: Interrupts communication with the controller
- High water pressure: Damages internal parts
Regular maintenance can prevent most of these problems.
Tools & Materials Needed for Valve Repair
Before starting sprinkler system valve repair, gather these tools:
- Screwdriver
- Replacement diaphragm
- Replacement solenoid
- Multimeter (for testing)
- Wire connectors
- Plumber’s tape
- Cleaning brush
- Bucket or towel
Having the right tools makes the job easier and faster.
Step-by-Step ComprEssor System Valve Repair Guide
Follow this simple process for effective sprinkler system valve repair:
Step 1: Turn Off the Water Supply
Always shut off the main water source to avoid leaks or flooding.
Step 2: Locate the Valve Box
Find the valve box in your yard and open it carefully.
Step 3: Identify the Faulty Valve
Look for leaks, dirt, or damaged parts.
Step 4: Remove the Valve Cover
Use a screwdriver to open the valve.
Step 5: Clean the Valve
Remove dirt, debris, and buildup from inside.
Step 6: Replace the Diaphragm
If worn out, install a new diaphragm.
Step 7: Check the Solenoid
Inspect and replace if necessary.
Step 8: Fix Wiring Issues
Ensure all wires are properly connected.
Step 9: Reassemble and Test
Put everything back together and turn the water on to test.
How to Repair a Faulty Solenoid (Detailed Guide)
The solenoid is an important electrical part of the valve. It controls when the valve opens and closes.
Signs of a Faulty Solenoid:
- Valve not opening
- Clicking noise but no water flow
- Zones not responding
How to Repair It:
- Turn off power and water
- Unscrew the solenoid
- Test it using a multimeter
- Replace it if defective
- Reconnect wires securely
- Test the system
Solenoid replacement is one of the most common tasks in sprinkler system valve repair.
When to Repair vs Replace a Sprinkler Valve
Sometimes repairing is enough, but other times replacement is better.
Repair If:
- Only one part is damaged.
- The valve is relatively new.
- The issue is minor.
Replace If:
- The valve body is cracked.
- Multiple parts are damaged
- The valve is over 7–10 years old.
Knowing when to repair or replace saves time and money.
Cost of Com sprinkler System Valve Repair
The cost of sprinkler system valve repair depends on the issue.
DIY Costs:
- Diaphragm: $10–$30
- Solenoid: $15–$40
- Tools: $20–$50
Professional Costs:
- Basic repair: $75–$150
- Complex repair: $150–$300
DIY repair is usually cheaper, but professionals are better for complex issues.
Common Mistakes to Avoid During Valve Repair
Avoid these mistakes when doing sprinkler system valve repair:
- Not turning off the water supply
- Using incorrect replacement parts
- Ignoring small leaks
- Over-tightening screws
- Incorrect wiring connections
These mistakes can lead to bigger problems.
Conclusion
Sprinkler system valve repair is an essential skill for maintaining a healthy and efficient irrigation system. By understanding how valves work and learning how to fix common problems, you can save money and keep your lawn in top condition.
Regular inspection, proper maintenance, and timely repairs will ensure your system runs smoothly for years. Don’t wait for small issues to turn into costly repairs—take action early and keep your irrigation system performing at its best.
Frequently Asked Questions (FAQs)
1. What is sprinkler system valve repair?
It is the process of fixing or replacing parts of a valve that controls water flow in an irrigation system.
2. Can I do sprinkler system valve repair myself?
Yes, most basic repairs can be done with simple tools and guidance.
3. How long does a sprinkler valve last?
Typically 5–10 years, depending on usage and maintenance.
4. Why is my sprinkler valve leaking?
Leaks are usually caused by a damaged diaphragm or loose fittings.
5. How do I know if my solenoid is bad?
If the valve doesn’t open or close properly, the solenoid may be faulty.
6. How much does sprinkler system valve repair cost?
DIY repairs cost $10–$50, while professional services cost $75–$300.
7. How often should I check my sprinkler valves?
At least twice a year to ensure proper performance.